The Little Stuff
Personalised DIY rainbow sun and cloud balloon sculpture stack stand
Personalised DIY rainbow sun and cloud balloon sculpture stack stand
Couldn't load pickup availability
DIY your own 1.3 metre height balloon bouquet for your loved one's birthday party. No helium needed, with instructions it will be easily done by yourself.
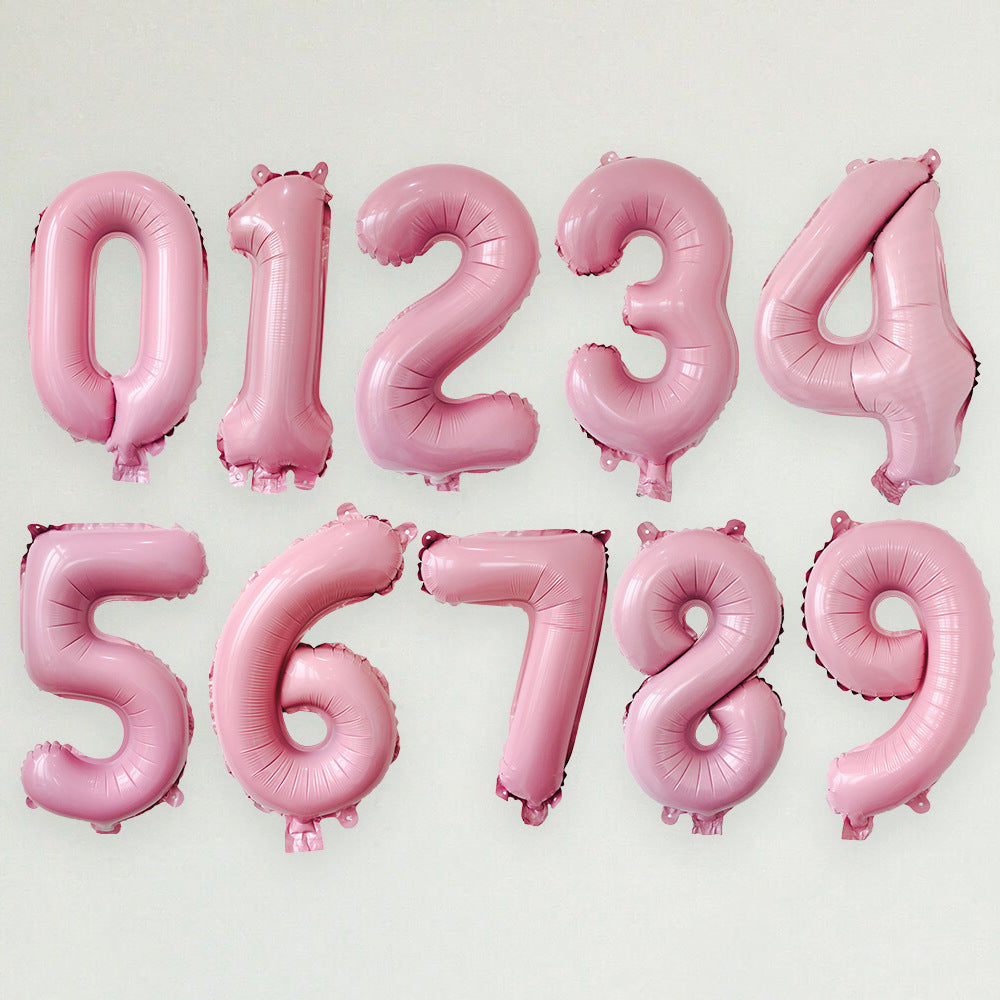
Style 1, Beautiful 40inch pink number balloon, with 1pc 18inch sun balloon, 1pc 22inch rainbow balloon, 12pcs 12inch mixed pink and purple latex balloons, 6pcs 5inch mixed multi coloured balloons, all you need for making the display is included.
Style 2, Beautiful 40inch pink number balloon, with 1pc 18inch sun balloon, 1pc blue cloud balloon, 1pc 24inch rainbow tassel balloon, 12pcs 12inch mixed pink and purple latex balloons, 6pcs 5inch mixed multi coloured balloons, all you need for making the display is included.
How it works
This DIY standing balloon bouquet kit is designed for busy parents — inflate the latex balloons, twist them into clusters to build a sturdy base, then stack and glue your number and character balloons on top. No helium needed; air inflation keeps it floor-standing for the party.
- Inflate the latex balloons to an even size (about 20–22 cm) with a hand pump.
- Tie balloons into pairs, then twist pairs into cross-shaped clusters.
- Stack the clusters on the ribbon and wrap firmly to form a stable base.
- Inflate the foil number/character balloons (slightly soft is easier) and stick them on with glue dots.
- Add any stickers or extras, then display standing on the floor.
Full step-by-step instructions — also linked via QR in the kit.
Details
Details
Instructions
Instructions
1. Blow up 12PCs 12inch balloons to similar sizes, suggest 20-22cm. (place a ruler or measuring tape or an object next to the balloon when blowing)

2. Tie 2 of them together to make 6 pairs.

3. Pick 2 pairs, stack them on top of each other like a shape of cross, twist the joint to join them together to make one set, then level them. (Don't worry if they move, as long as they join together)

4. Repeat step 3, make three 12inch balloon sets.


6. (You will need some space in this step) Open the ribbon, place it on a flat surface, then place first 12inch balloon set on top of the ribbon.


8. As the picture shows, place 12inch set and 5inch set on top, one after each other, each time rotate 45 degrees and tie, until the base is stable, pull tight and tie a knot. Base is made.

9. Blow up the number balloon, if you have a name sticker stick it on.

10. Turn the base 90 degrees. Place the number balloon on the top, find the best position then stick it onto the base with glue dots. Stick 5inch balloons or other decorations on according to your design.
If your number is 4,7, you may need to add extra balloons behind or under the number to balance it, extra balloon will be included in the pack.
Check balloon modelling: how to make balloon pearl necklace
http://www.youtube.com/watch?v=mEk6UjnI8x0
TheLittleStuff
Shipping & returns
Shipping & returns
We aim to dispatch all orders within 1 business day using 48-hour tracked services. For urgent orders, please select the next-day option at checkout.
Returns: For most standard (non-personalised) items, returns are accepted within 30 days of delivery if the item remains unused and in a resalable condition. Personalised, engraved, custom or made-to-order items cannot be returned or refunded for change of mind (for example name-engraved baubles, personalised cake toppers, and balloons/decorations with a custom name or message). This does not affect your statutory UK consumer rights if an item is faulty, damaged, or not as described — please contact us at contact@thelittlestuff.co.uk. Full details: Refund policy.
We hope you enjoy shopping with us!